
“Ready to
build a weather app with Python? If you’re just getting into programming and looking for a project that’s both practical and easy to follow, this is the perfect choice. Instead of another to-do list, you’ll learn how to fetch live data, interact with real-world APIs, and build a user interface. In 2025, Python remains a top language for developers, and this project is a great way to put your skills to work.”
So today, I’m going to walk you through building a simple Python weather app. This won’t require advanced skills, and I promise you’ll learn things like:
- Making API calls
- Building a GUI
- Displaying real-time weather for any city
Let’s build something useful, together.
Why Build a Weather App?
Here’s the thing. A weather app sounds simple—and it is—but it also gives you a taste of real programming tasks:
- Connecting to the internet and fetching live data
- Parsing and understanding JSON
- Building a clean user interface
Plus, it’s the kind of thing you’ll enjoy showing off.
What You’ll Need (It’s Not Much)
Before we jump in, make sure you’ve got this stuff sorted:

✅ Python 3.x installed on your computer
✅ A free API key from OpenWeatherMap
✅ Install requests with:
pip install requests
No fancy IDEs required—you can use IDLE, VS Code, or even Notepad++.
Step 1: Get Your Weather API Key
This is where the weather data comes from.
- Head over to openweathermap.org
- Create a free account
- Go to your dashboard and grab your API Key
This key will authenticate your app to fetch real-time data.
Understanding the Code
The script to build a weather app with Python has two main parts: the logic for fetching data and the GUI for user interaction. Let’s break it down:
- API Interaction (
get_weatherfunction): This function is triggered when the user clicks the button. It takes the city name from the input field , inserts it into the OpenWeatherMap API URL along with your unique API key, and sends a request. If the request is successful (status_code == 200), it parses the JSON data to get the weather description and temperature, then displays it. Otherwise, it shows an error message. - GUI Setup (
Tkinter): The code sets up a simple window using Tkinter. It includes anEntrywidget for users to type a city , aButtonto submit their search , and aLabelwhere the results are displayed. Theapp.mainloop()command keeps the window open and responsive to user actions.

Step 2: Write the App (Yes, the Whole Thing Below)

import requests
from tkinter import *

def get_weather():
    city = city_entry.get()
    api_key = 'YOUR_API_KEY'  # Replace this
    url = f"https://api.openweathermap.org/data/2.5/weather?q={city}&appid={api_key}&units=metric"
    try:
        res = requests.get(url)
        res.raise_for_status()
        data = res.json()
        weather = data['weather'][0]['description'].title()
        temp = data['main']['temp']
        result_label.config(text=f"{city.title()}: {weather}, {temp}°C")
    except:
        result_label.config(text="Something went wrong. Check the city name.")

app = Tk()
app.title("Simple Weather App")
app.geometry("320x180")

city_entry = Entry(app, width=30)
city_entry.pack(pady=12)

btn = Button(app, text="Check Weather", command=get_weather)
btn.pack()

result_label = Label(app, text="", font=("Arial", 12))
result_label.pack(pady=18)

app.mainloop()
📌 Replace ‘YOUR_API_KEY‘ with the one you got earlier. Otherwise, it won’t work.
Step 3: Test Your App
Run it:
python weather_app.pyType in a city like Delhi, London, or New York and hit the button. You should see the weather and temperature printed below.
And just like that—you built something real.
Bonus: Share It with Friends (Even Without Python)
Want to turn your script into a .exe file?
Install PyInstaller:
pip install pyinstallerThen run:
pyinstaller --onefile weather_app.pyYou’ll get a standalone Windows app inside a /dist/ folder. Works even on computers without Python installed!
Where to Go from Here
The cool thing about simple projects is that you can always make them better:
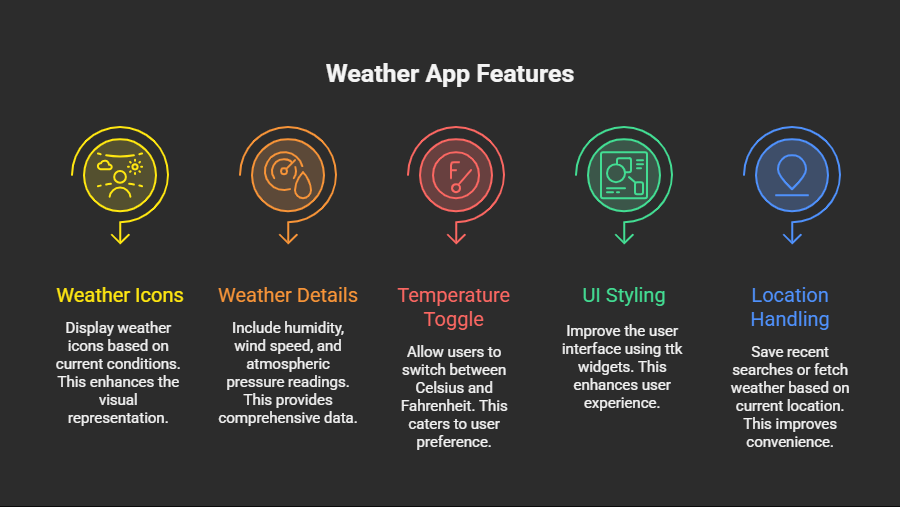
- Add weather icons based on condition
- Include humidity, wind, and pressure
- Toggle between Celsius and Fahrenheit
- Improve the UI styling (try ttk widgets)
- Save recent searches or fetch based on location
🔗 Internal link: n8learner.in/python-data-science-beginners
Final Thoughts (No Buzzwords Here)
You just built a real, working weather app.
It might be small—but it connects to a live API, handles user input, manages errors, and has a working UI. That’s real-world stuff. And it’s more than most beginners ever finish.
So if you’re feeling unsure about whether you can “really code”—now you know you can.
Want more no-fluff Python projects?
Check out n8learner.in for hands-on tutorials, career roadmaps, and more beginner-friendly builds.